If your dental impression isn’t accurate, nothing will fit right.
More importantly,
taking a dental impression is the first step in making dentures—whether you’re going to a clinic or using a DIY denture kit at home.
The good news?
You can take an accurate dental impression at home.
Even if you’re using a DIY denture kit.
Why dental impressions fail (and how to avoid it)
Before you start, it helps to know what usually goes wrong.
Most failed dental impressions come from:
- Wrong tray size
- Poorly mixed impression putty
- Biting too hard or too lightly
- Moving before the material sets
Any of these can ruin the result.
Fix these, and you’re already ahead of most beginners.
Step 1: Choose the right impression tray
This is where accuracy starts.
Most DIY denture kits include small, medium, and large trays.
Before adding material, test the empty tray.
A good fit should:
- Cover all your teeth
- Sit comfortably
- Not press into your gums
Step 2: Clean your mouth (don’t skip this)
Simple, but important.
- Wash your hands
- Brush your teeth
No food. No debris.
Even tiny particles can affect your dental impression detail.
You don’t need gloves.
From our experience, bare hands actually help you mix better.
Step 3: Mix the impression putty evenly
This is one of the most common mistakes.
You’ll usually have two parts (blue + white).
Knead them together until the color is fully uniform.
No streaks. No lines.
- Mixing time: ~30 seconds
- Load tray: 10–15 seconds
Work fast. The material sets quickly.
Uneven mixing = unable to solidify = failed dental impression.
Step 4: Position and bite correctly
Place the tray slowly and center it.
Make sure your teeth sit evenly in the putty.
Then bite down steadily.
- Too hard → push through the material or ruin the shape
- Too light → impression is shallow
Once in place:
Hold it still for at least 5 minutes
Do not move.
Movement = distortion.
Step 5: Worried about getting stuck?
Some people hesitate here.
If you have:
- Tight teeth
- Receding gums
- Or just feel unsure
You can place a thin layer of plastic wrap over your teeth.
It helps with removal.
And it won’t noticeably affect accuracy.
Step 6: Remove the impression the right way
Don’t pull from the front.
Instead:
- Apply pressure from the back teeth
- Lift straight up (upper) or down (lower)
This keeps the shape intact.
FAQ
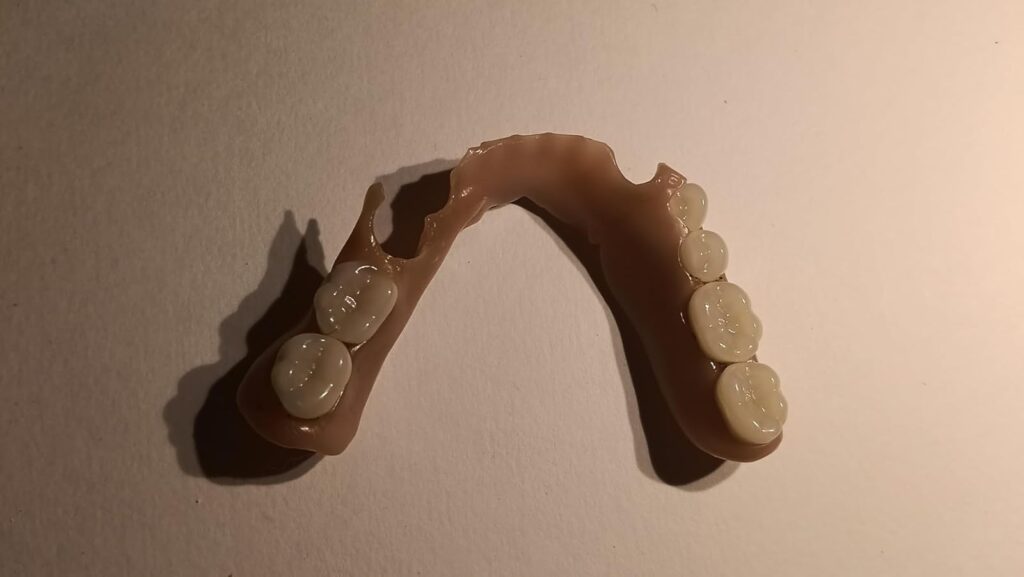
What a good dental impression looks like?
A successful dental impression should:
- Show full tooth shape
- Capture the gum line clearly
- Have no large bubbles
- Feel firm and fully set
A better impression now saves you from a bad fit later.
Why should you exercise caution when considering denture solutions that do not require impressions?
There are usually two types:
- Very low-cost kits (around $40) that only include teeth and wax.
These rely entirely on manual shaping, which most people struggle to get right. - Pre-formed options like Easy Denture.
They come with a fixed base that you soften and adjust.
The problem is simple:
if your mouth doesn’t match the base shape,
no amount of reheating or adjusting will make it truly fit.
That’s the difference.
A real dental impression captures your teeth.
Everything else is just approximation.
Click to read more tips on making DIY dentures.